Keurig, the coffee-making industry’s genie, has made our long quest for instant yet tasty treats. It has become popular because of its efficiency in producing quality cups of coffee and simple operating procedures. If you talk about maintenance, I would rate Keurig as the easiest to clean coffee maker in the globe.

Water filters are the most critical component of Keurig, and so it needs replacement after its activity life is over. How to change water filter in Keurig 2.0 K250 is the topic of our today’s discussion.
Simply, you need to choose the compatible water filtration unit to change the existing water filter. If you have Keurig 2.0 K250 then you need the water filter of the same model. Then you need to remove the existing water filter from the Keurig and position the new one properly.
We will talk about these steps in detail. So, hang on until the final word!
Best Keurig 2.0 250 Water Filter Replacement Cartridges
| Image | Name | FEATURES | |
|---|---|---|---|
Overall Best 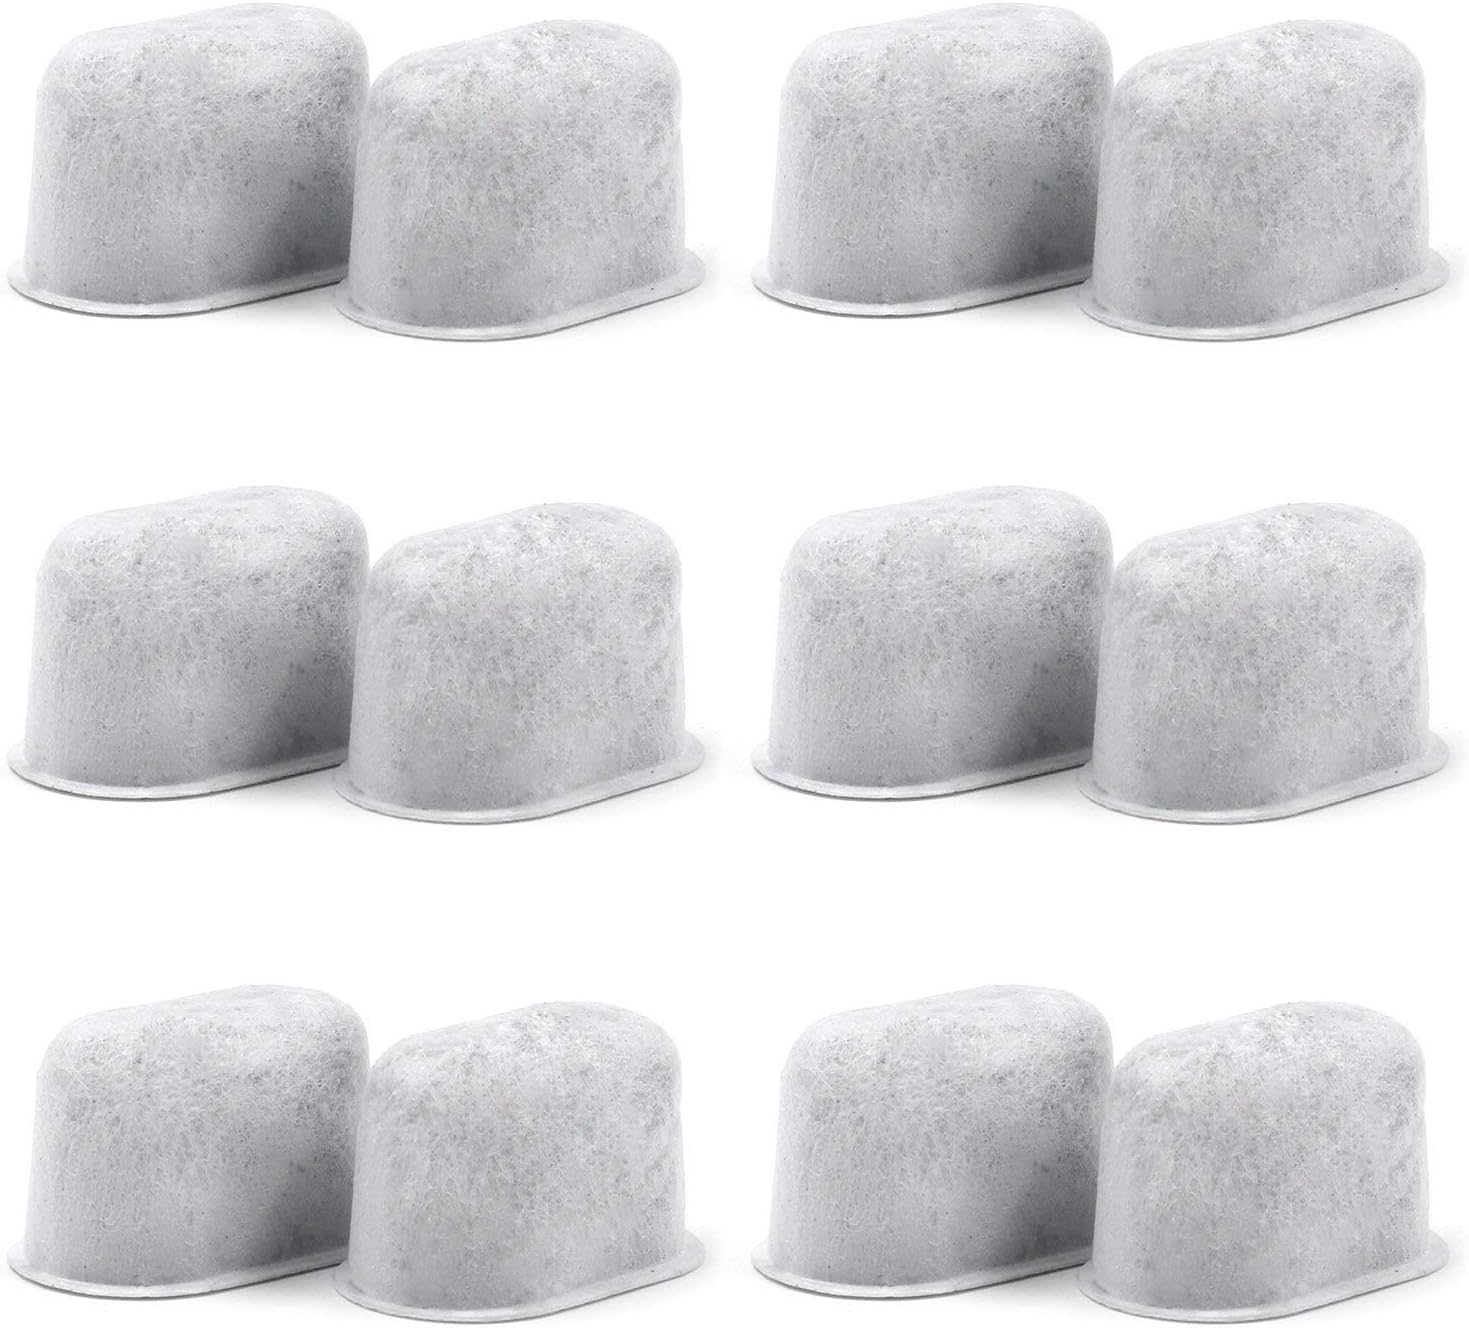 |
Charcoal Water Filters for Keurig – Fit Keurig 2.0 |
|
at Amazon |
Longer Use  |
PARTY BARGAINS Replacement for Keurig 2.0 |
|
at Amazon |
Budget 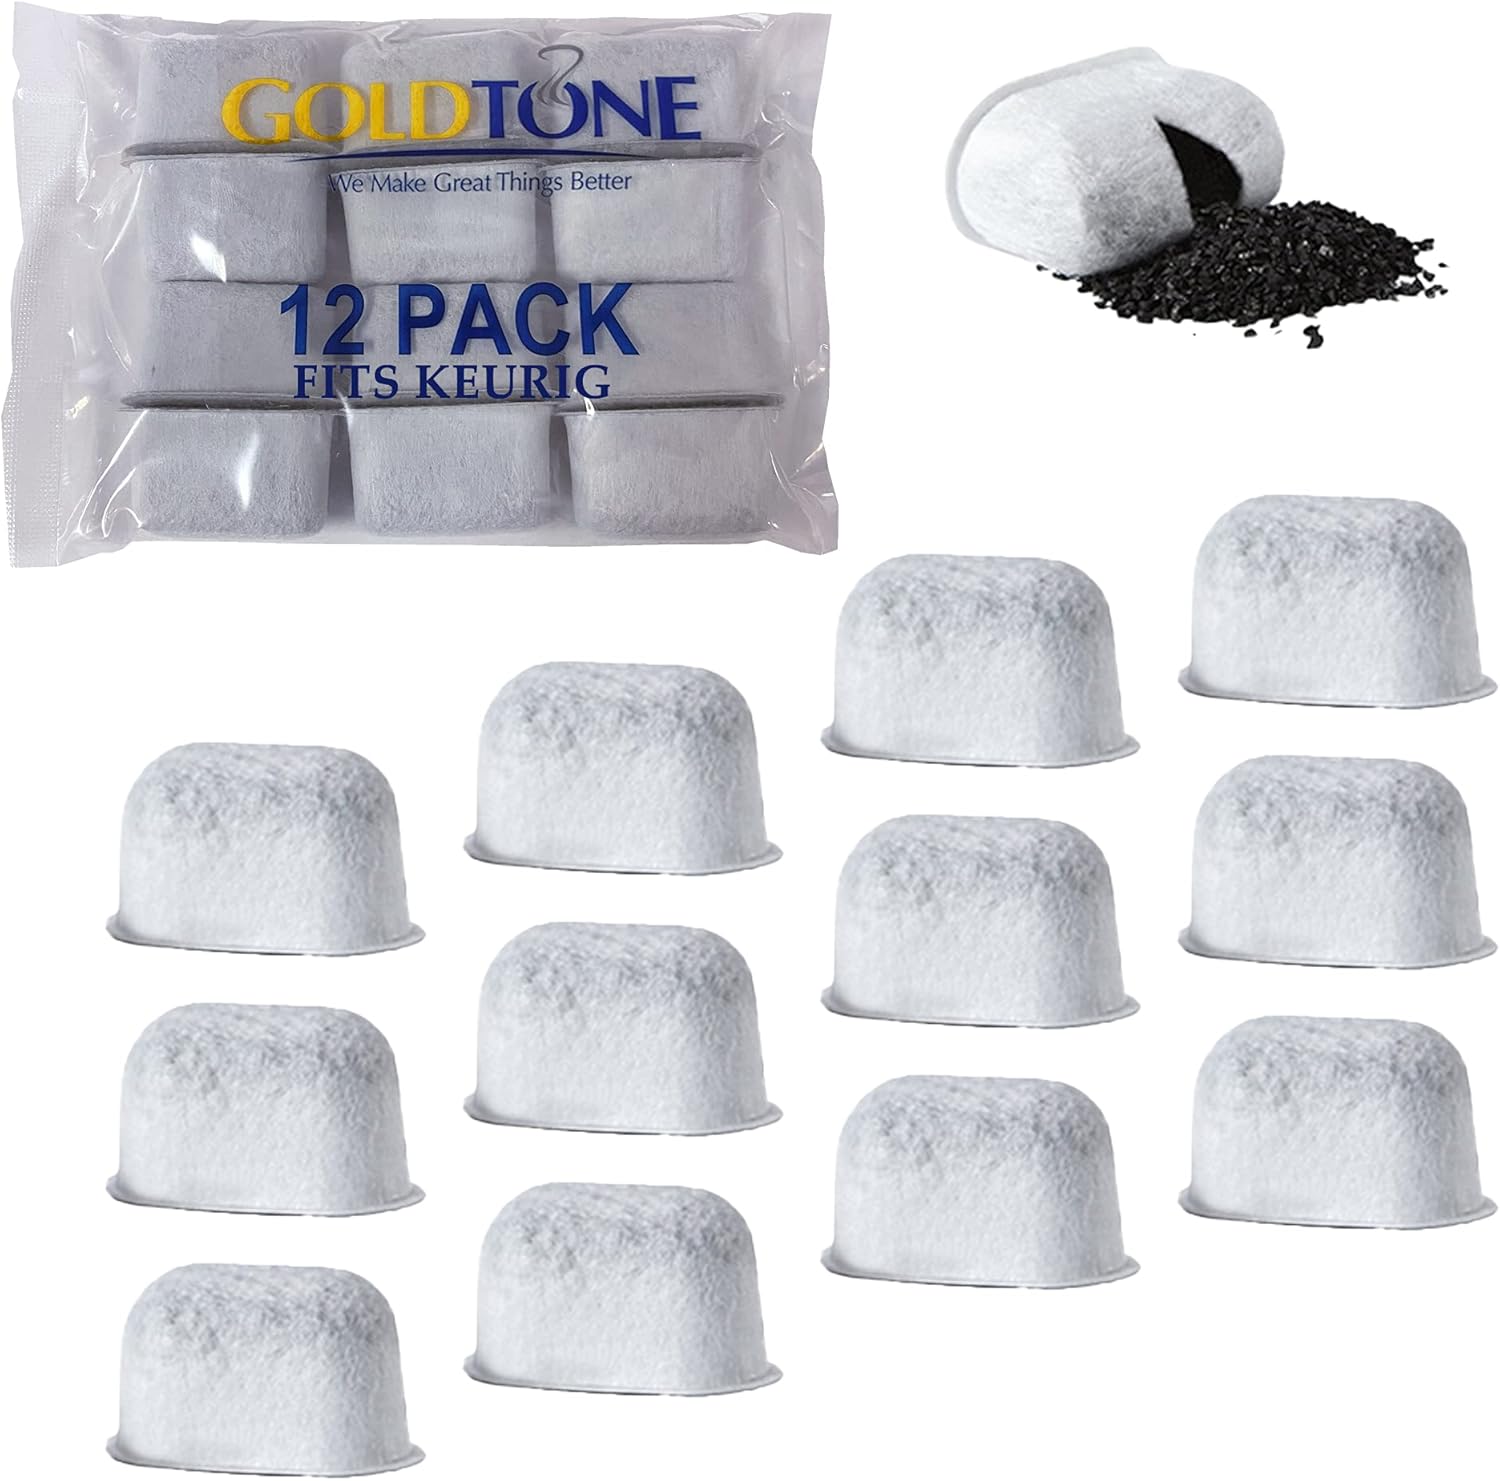 |
GOLDTONE 12 Pack Replacement Charcoal Water Filter Cartridges |
|
at Amazon |
Efficiency  |
K2.0 Water Filter Replacement Starter Kit |
|
at Amazon |
Importance of Water Quality in Keurig 2.0
Keurig 2.0 is best known for its latest technology in instant coffee making. It has an integrated filtration unit, more efficient than other classic coffee makers. The charcoal water filter used in it, is the most proactive, safe water filter of coffee machines.
Quality of water is very important to unleash coffee’s best taste. So, here comes the role of water purifiers.
The water filter Keurig 2.0 can efficiently remove dissolved solids. TDS which stands for Total Dissolved Solids, can ruin your coffee experience.
Another critical parameter is the pH of water. If you can keep the water’s pH around 6.5 to 7.5, you will enjoy the best-flavored coffee. Thanks to Keurig for its integrated water filtration system, removing acidic ions from the tap water.
The Keurig filtration system can remove calcium and balance the alkalinity of the water. So now can you imagine a Keurig without a filter? No, right!
It’s wise to use calcium removing filtration units to get the best coffee from Keurig to satisfy your taste bud! A filter like this can remove chlorine and other heavy metals.
Benefits of changing Keurig 2.0 water Filter
As we have mentioned earlier that, the water filter in Keurig has a certain lifespan. After this period, you need to replace the filter cartridge as per the general Keurig 2.0 K250 manual. If you replace the filter cartridge as per requirement, you will be entitled to certain benefits listed below.
To maintain perfect taste:
Keurig 2.0 maintenance is required for mechanical purposes and a prerequisite for tasty coffee. Water quality plays a huge part in flavor profiling.
To ensure the perfect & flavourful coffee, a properly functioning water filtration unit in Keurig 2.0 is essential. An excellent filtration unit can efficiently remove calcium, TDS, balance pH, and other ion.
It is commonly known that; water quality may vary due to geographic location. If the water quality in your area needs a rigorous filtration process, then you can easily assume how much load the Keurig 2.0’s water filter needs to carry. So, it is always a right decision to change the water filters at regular intervals.
Extends Keurig’s service time
By now, we all know filters are the most vital part of coffee makers. So, to efficiently run this Keurig 2.0 K250, there is no other option than maintaining it properly.
As per Keurig 2.0 K250 manual, it’s important to change the water filter to keep other functioning parts of the Keurig 2.0 in shape. If you know how Keurig 2.0 works inside, you will get a better idea of maintaining a Keurig properly. Internally, water circulation tubes are made with silicone. If you forget to change the water filter after a certain period, then metal can accumulate on the circulatory tubes and hamper proper functionality.
In brief, an outdated water filter cartridge can increase the load to other parts of any coffee maker models and hamper the overall machine’s lifetime.
Cleaning Schedule and Frequency of Keurig 2.0:
It’s crucial to know when to change the water filter on Keurig. How could you know it’s time to change the existing filter cartridges? Or what’s the cleaning schedule of my coffee brewer’s filters. All questions will be answered in the following sections.
Daily Cleaning & Maintenance of Keurig 2.0:
How to clean a Keurig filter daily? Let’s explore!
Firstly, you should never drink the leftover coffee from the previous day. If you find any leftover inside the carafe, first, you need to remove it. Then wash the carafe with soft detergent for about a minute.
It’s not wise to use any strong detergent or dishwasher, and it may harm the carafe. A mild wash is enough to eradicate any coffee stains or leftovers. You can take a soft sponge to scrub up and rinse the carafe with normal water.
If you keep Keurig’s carafe clean, it will be free from pathogens and harmful foreign bodies. So, the taste of coffee Keurig 2.0 will make will be like the first cup of coffee it is making for you. The freshness of coffee brewing will never be compromised if you keep the carafe clean properly.
Weekly Keurig 2.0 K250 Cleaning Procedure
Another vital area of the Keurig is the K-cup holder. A common objection we usually get from the user is the clogging at different K-cup holder sides. To get rid of that issue, you need to check the K-cup holder every week. If you find any coffee residues or leftovers, easily remove them with a sponge.
The same issue can be observed in the case of the needle as well. If the needle of Keurig 2.0 clog due to a problem with the K-cup holder, then the brewing process might be compromised.
The best way to clean the needle, ingress, and egress is to clean with a safety pin or pointy substances to clear residues and rinse the Keurig needle with water.
Bi-Weekly Cleaning & Maintenance of Keurig 2.0
Proper maintenance is the key to keep the machine in perfect condition. You have to understand that removable parts of any sort of device either washable or replaceable.
The most easily replaceable parts of Keurig 2.0 are the tray and K-cup holder. It is effortless to clean them with mild detergent, then wipe with clean cloths and rinse with clean water. Then, let them normally dry, then wipe with dry, clean cloths.
The removable water reservoir of Keurig 2.0 needs to be adequately cleaned. Follow the similar procedure of cleaning Keurig 2.0 K-cup and tray. But you would notice that these are not removable parts, so you need to follow some strategies to clean non-removable parts.
To clean the reservoir, remove water from the reservoir, then remove the filter cartridges. Now, it’s time to wipe the reservoir with a soap-soaked cloth. Then rinse the reservoir with clean water.
Dry out the reservoir normally; if you try to wipe it with dry cloth, lint might persist. Finally, after everything dries out naturally, clean Keurig 2.0 parts with soft dry cloth.
Bi-Monthly Cleaning of Keurig 2.0
Frequently, we get this question from the Keurig users, when should I replace the Keurig water filter?
Any Keurig model’s water filter cartridges need to be changed after 2 months. This will ensure proper filtration of water to filter out any sediments or minerals in the water.
An indicator called water filter reminder can signal you when it’s time to replace the filter. You will get an advance signal if your maintenance date is in the current month.
Quarterly to Half-Yearly Cleaning of Keurig 2.0
Regardless of our efforts, it is true that the water tanks and other parts of Keurig machine got affected by minerals after a certain period. Over time, minerals pile up in different Keurig sections where water flows or persists for a long time.
Minerals can drastically reduce the taste and flavor of the coffee. The coffee’s preference can be ruined the brewer itself can be damaged after a prolonged accumulation of minerals in the water tanks.
When the tank refills with mineral loads water, again and again, the filtration unit clogs. So, before tank refills, you need to check the tank’s status and filter mesh manually.
In that scenario, descaling of Keurig machines comes into play. It’s a relatively simple process, as it sounds. Simply you need to fill the reservoir with 10 oz of white vinegar or Keurig’s own descaling solution.
The next step is to turn on the machine and start brewing without placing any coffee pod. Under the coffee delivery nozzle, place a mug to catch the drainage solution.
Dispose of the solution and repeat the process three times if metal/ion accumulation is too hard to go. It’s always safe to do this step at least three times, regardless of the machine’s situation.
Now, repeat the same step with water only. Check out if the sourness of white vinegar has completely gone through. If not, then wash with water two or three times more. Your Keurig is ready to serve the best coffee again!
How to Change Water Filter in Keurig 2.0 K250
Now, we will describe how to replace the water filter in Keurig 2.0 by step-by-step methods. Please follow every instruction carefully to avoid any unnecessary damages.
This is how to change Keurig 2.0 filter
- First, unplug the Keurig 2.0 and clean the dry cloth to clean the machine’s outer surface. This step is essential because if dust and other foreign material persist onto the Keurig coffee machine’s surface, it may enter into the filtration system.
- Now, it’s time to remove the water reservoir carefully.
- Assumed you have already purchased a water filter kit for Keurig; if not, you can check out our reviewed best Keurig water filter. Now, moving to the next step, soaking the new water filter into clean/purified water for five to ten minutes.
- From the filtration unit, open up the cartridge and remove the old water filter.
- Carefully rinse the netting on the lower portion of the upper filter holder. Use clean water while performing this step.
- Now, rinse the new water filter with clean running water for one to two minutes.
- Position the new water filter unit onto the cartridge holder.
- Shut down the lower filter holder.
- Tag a date on the Keurig machine’s surface, mentioning the next water filter changing the date.
- Finally, change the filter holder in the reservoir (If your model has one), and push it to fit into the place.
Conclusion:
Now you know how to change water filter in Keurig 2.0 K250 or any other recent Keurig model. If you follow the instructions mentioned above carefully, we hope Keurig 2.0 maintenance will be simpler than ever.