Cleaning a water reservoir is one of the essential things to do if you are habituated to drinking water using a water filter. It is the place where all the dirt particles and impurities are accumulated.

However, today I would love to talk mainly about Keurig’s Water Reservoir. Those are using or cleaning a water reservoir for the first time may face some difficulties, and knowing the proper methods will keep the water reservoir safe and durable.
Recently I bought a Keurig water reservoir which offers us clean and fresh water. So I thought of sharing my ideas about removing the water reservoir from the Keurig.
Where is the Keurig mini Water Reservoir Located?
Keurig mini water mini has only a single cup water reservoir that provides us supreme portability, and it has no internal water reservoir. So you can only add water for each brew of coffee or tea.
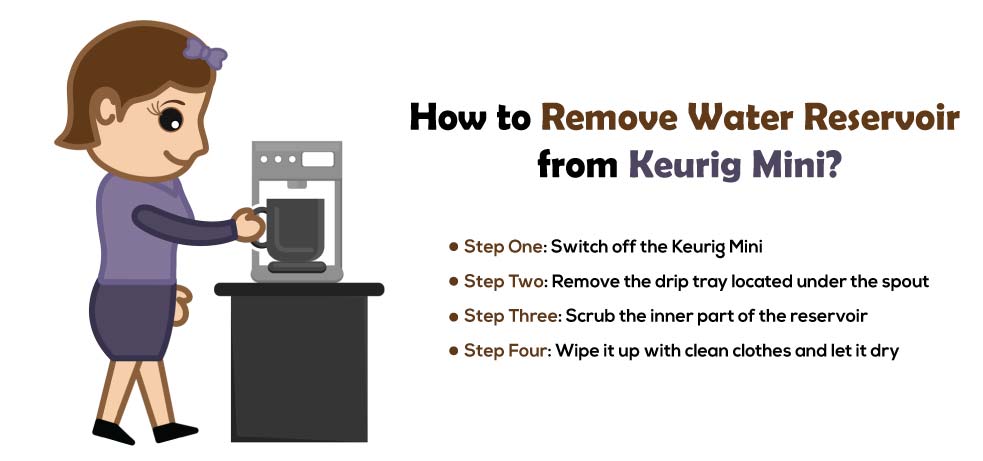
How to Remove Water Reservoir from Keurig Mini? [Step by Step process]
Different coffee makers have additional cleaning and detaching of the Keurig mini water reservoir.
Removing the water reservoir is not difficult; you can do this at home only by following the proper instructions from the papers provided in the box of the product.
Step One: Switch off the Keurig Mini
Step Two: Remove the drip tray located under the spout
Step Three: Scrub the inner part of the reservoir
Step Four: Wipe it up with clean clothes and let it dry
If you are still confused, I will help you understand removing the water reservoir. This article has been mainly focused on the water reservoir from the Keurig.
- Your first task is to switch off the Keurig Mini Coffee maker and make sure you have to disconnect the power cord. After removing the power cord, make sure you have allowed it to cool for half an hour before you vacate the water from the container. Unplugging the switch cord is essential when you want to remove the reservoir. If you do not remove it, there can be a chance of an electrical shock.
- The second step is to remove the drip tray located under the spout on the front of the device. Removing it is pretty simple. It would help if you slid it towards you, keeping the machine in place.
- Thirdly, you need to clean the drip tray using a sponge. If you see the drip tray is too dirty, you can use mild soap to wash and rinse it with water. In water reservoirs, some specific areas get dirty the most. For this reason, you need to focus on where water or coffee dirt particles accumulate on the base of the coffee maker. Scrub the inner part of the reservoir. Before cleaning it, you need to soak it in the soap for 10 to 15 minutes. Do not forget to clean the lid on every side.
- When cleaning, do not forget to wipe it up with clean clothes and let it dry before you reinstall it.
Why is Keurig K-Mini not Pumping Water?
Keurig K-mini may not pump water for many reasons. It is mainly because the water scaling is not correct. And the reason why the scaling is proper is because of dirt particles or impurities that are accumulated and stuck in the improper areas that can disturb the water pump.
However, fixing the problem quickly at home is one of the significant ideas as you do not need to repurchase the Products. Let’s improve the situation if the Keurig K- mini is flawlessly pumped.
- First, you need to take out the Keurig water reservoir and clear the water or liquid. After that, you need to refill the water in the pool with the correct volume of water.
- When you are done with this, you have to flourish the water inside the reservoir and let the water out from there.
- After completing this stage, you have to clean it with a clean towel to remove the dirt particles.
The process I described above is relatively easy. You can do it for fundamental problems. But if you think it is still not pumping water properly, you can check out the other methods below:
- Another problem can be related to the motor. If the engine is broken, it will try to pump the water, but it won’t be possible to do so completely.
- You may hear a rough sound from it which means air has entered into another device that causes problems in pumping water.
If you keep using it, it will be more damaged. Therefore, the most brilliant idea will be to go to the sellers or an expert to fix it. They will change the motor and replace the new one through which you may be able to operate the machine again in the future.
How to Reset the Keurig Mini?
Resetting the Keurig Mini is not rocket science. Anyone can reset this easily at first, need to click on the button and hold the brew button for 5 to 7 seconds until all the water comes out from the reservoir. Throw away the remaining particles and water from the sink. You will see the button on which it is marked as a restart.
Conclusion:
Now, you have the complete and compact idea of removing the water reservoir from Keurig mini. The steps are pretty simple. But, the important thing to note here is to change and clean the water filter on a regular basis. I hope this article will help you maintain the Keurig mini properly.